
As a newborn photography mentor, a common question I get asked is how do I get a great variety of images for my client’s gallery during a full session (a full newborn session can be up to 4 hours)? I follow a process. A process is a series of steps taken in order to achieve your goal. The client changes, the set-up changes but the process remains the same. I hardly deviate from it.
This blog post will focus on Part 2: Process and is a follow-up to my first blog post on Shooting Efficiently Part 1: Technology.
PROCESS
In a full newborn session, I normally shoot five set-ups—two props, one beanbag, one family-sibling-parent-baby and macros. How you want to set up and in what order is entirely up to you depending on your space. My shooting space is 650 square feet and the benefit to having that space is that all my set-ups are in place ahead of time before I shoot. Once I am done shooting one set-up, I pick up the baby, move to the next set-up and wheel my softbox over.
I normally deliver 30 images in a gallery. That means I need at least six different shots from each set-up. Why do I need to know this? This helps keep me from overshooting at one set-up. It is really easy to overshoot so try not to do it as it adds to your session time as well as post processing time (more culling and editing). Also, overshooting contributes to wear and tear of your camera. Once I get my six different shots, I move on to the next set-up.
HOW TO MAXIMIZE YOUR SHOOTING THROUGH PROCESS
1) Shoot a variety of prime lenses for different looks (or different focal length on a zoom lens) and with each lens different angles.
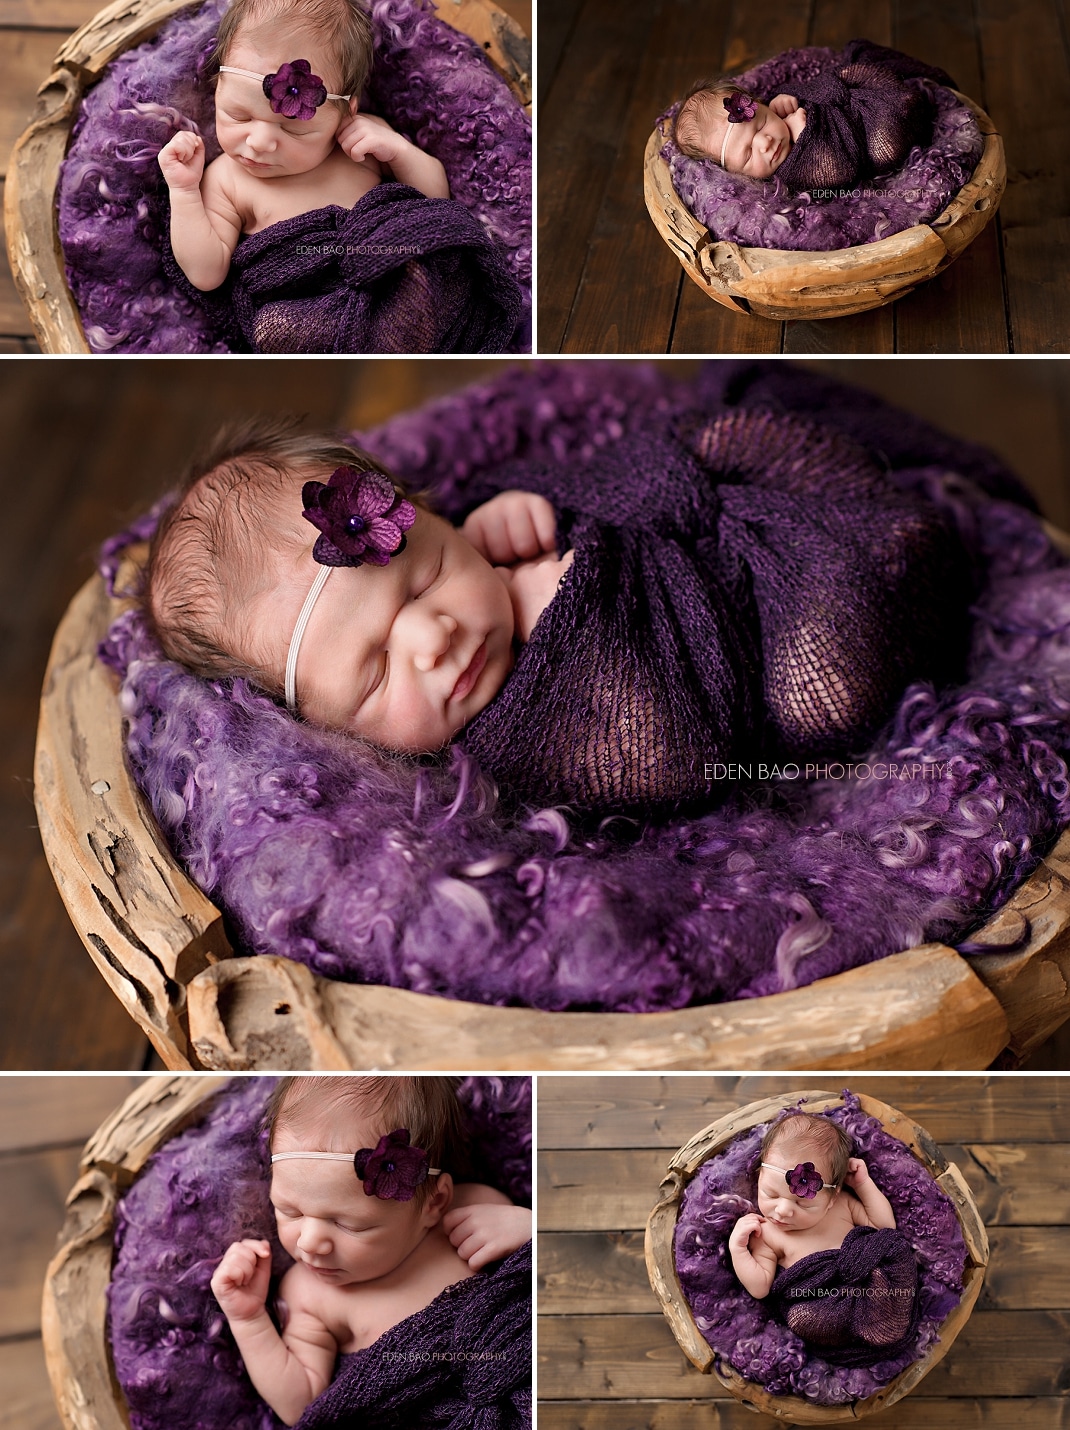
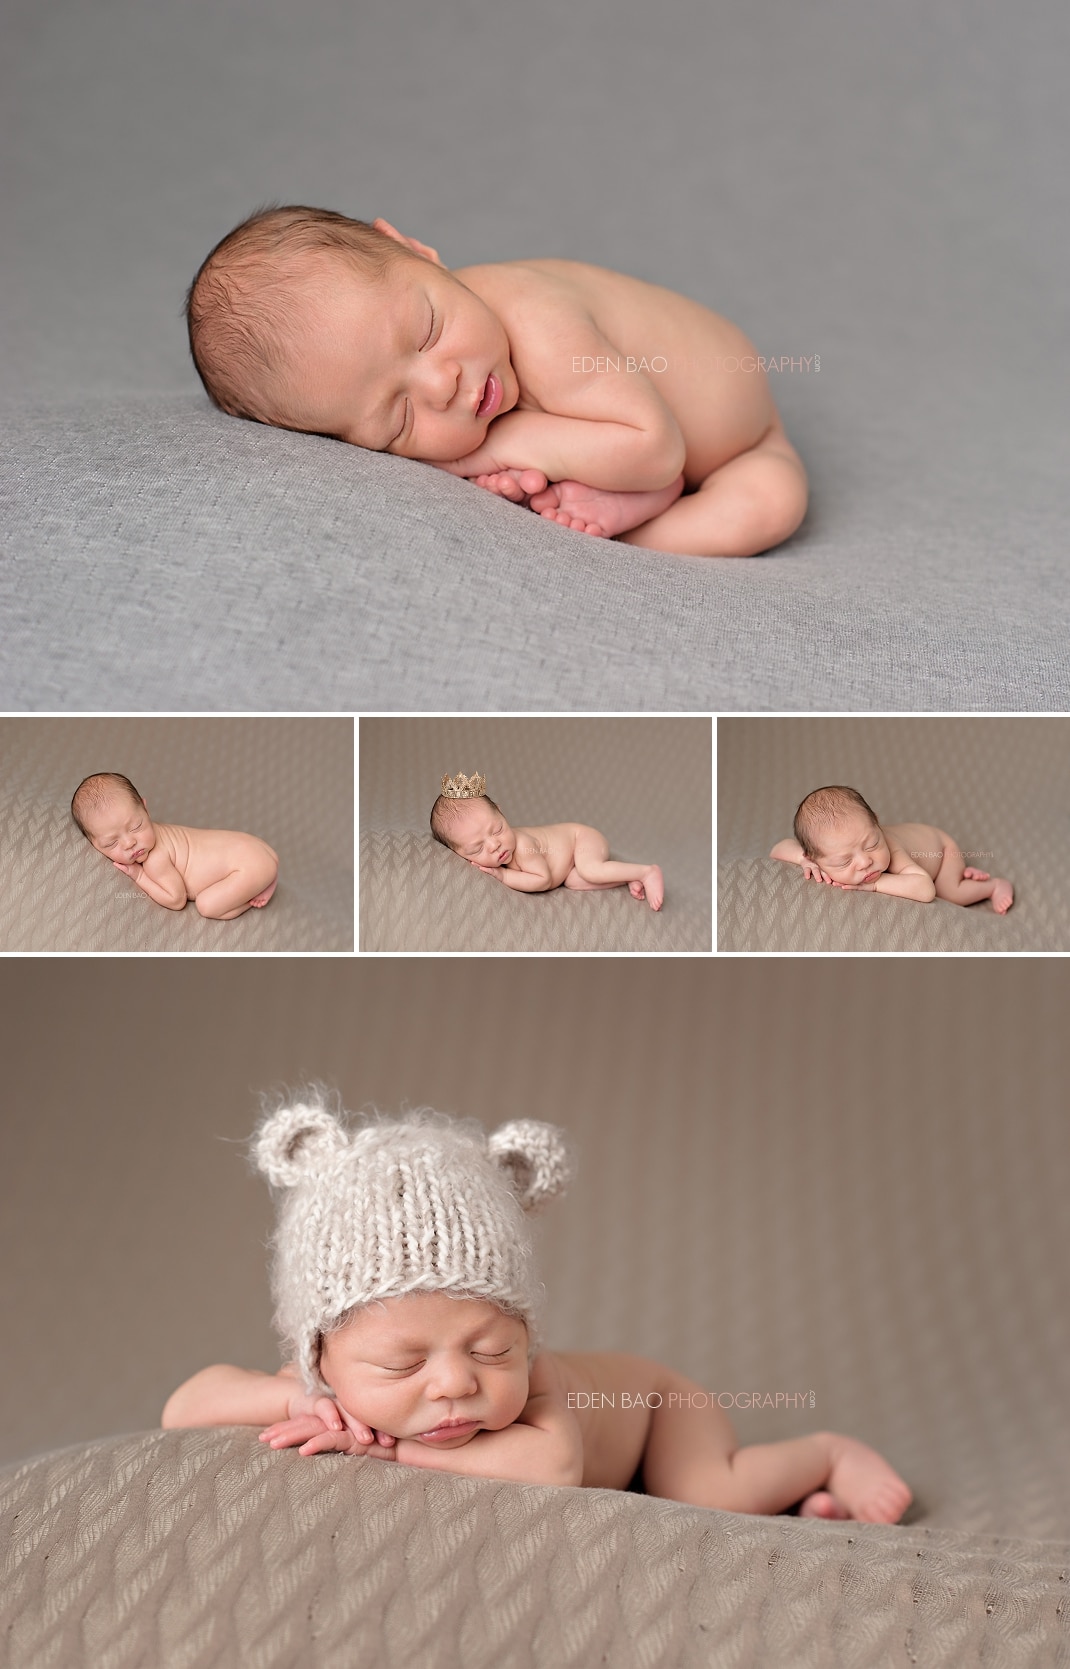
Here’s an example of my shots from one set-up: first four images are shot with the 85mm portrait lens and the last with the 35mm wide angle lens. Five shots already and I barely moved her (aside from pulling her arms out of the swaddle).
2) Change something in the set-up, either a prop or a pose.
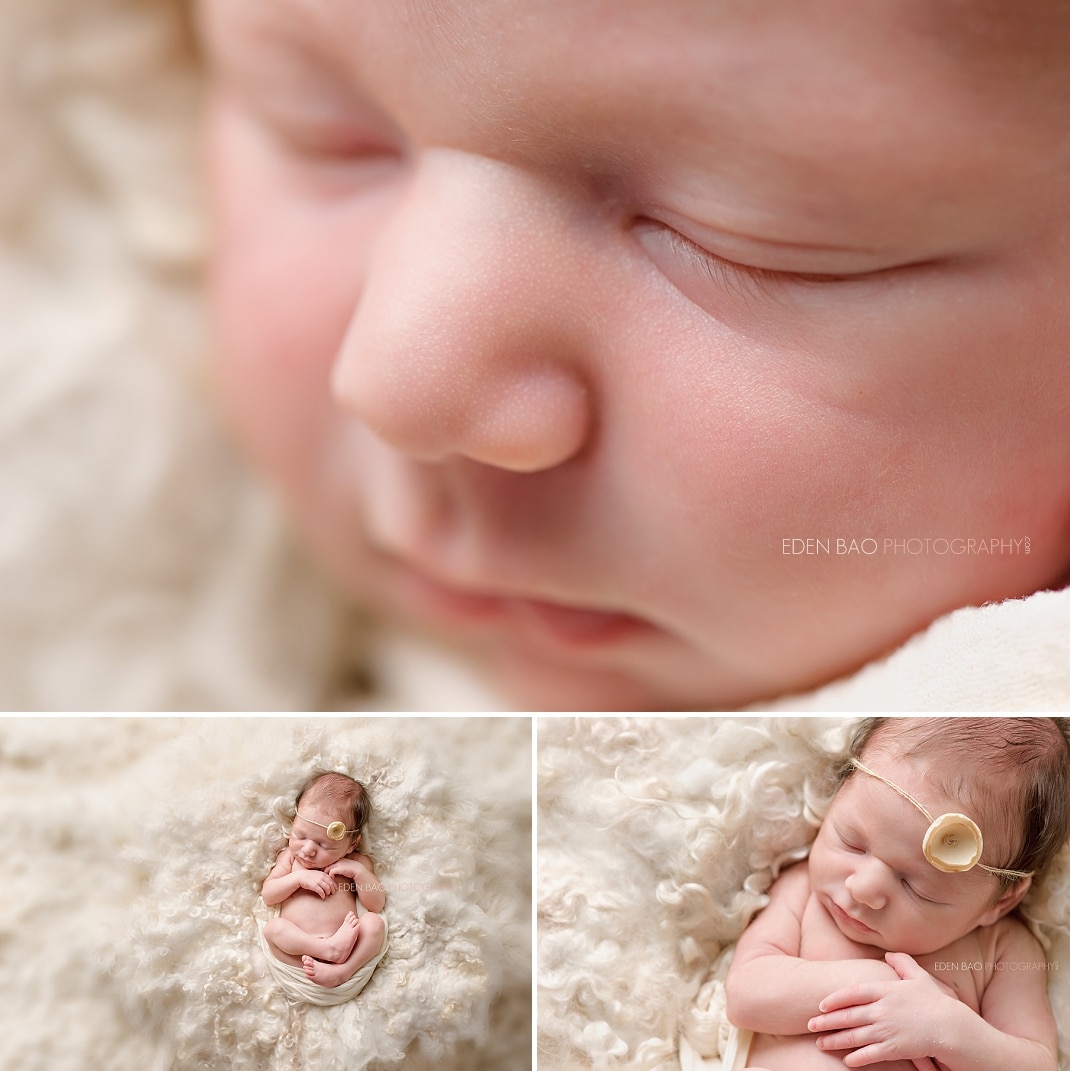
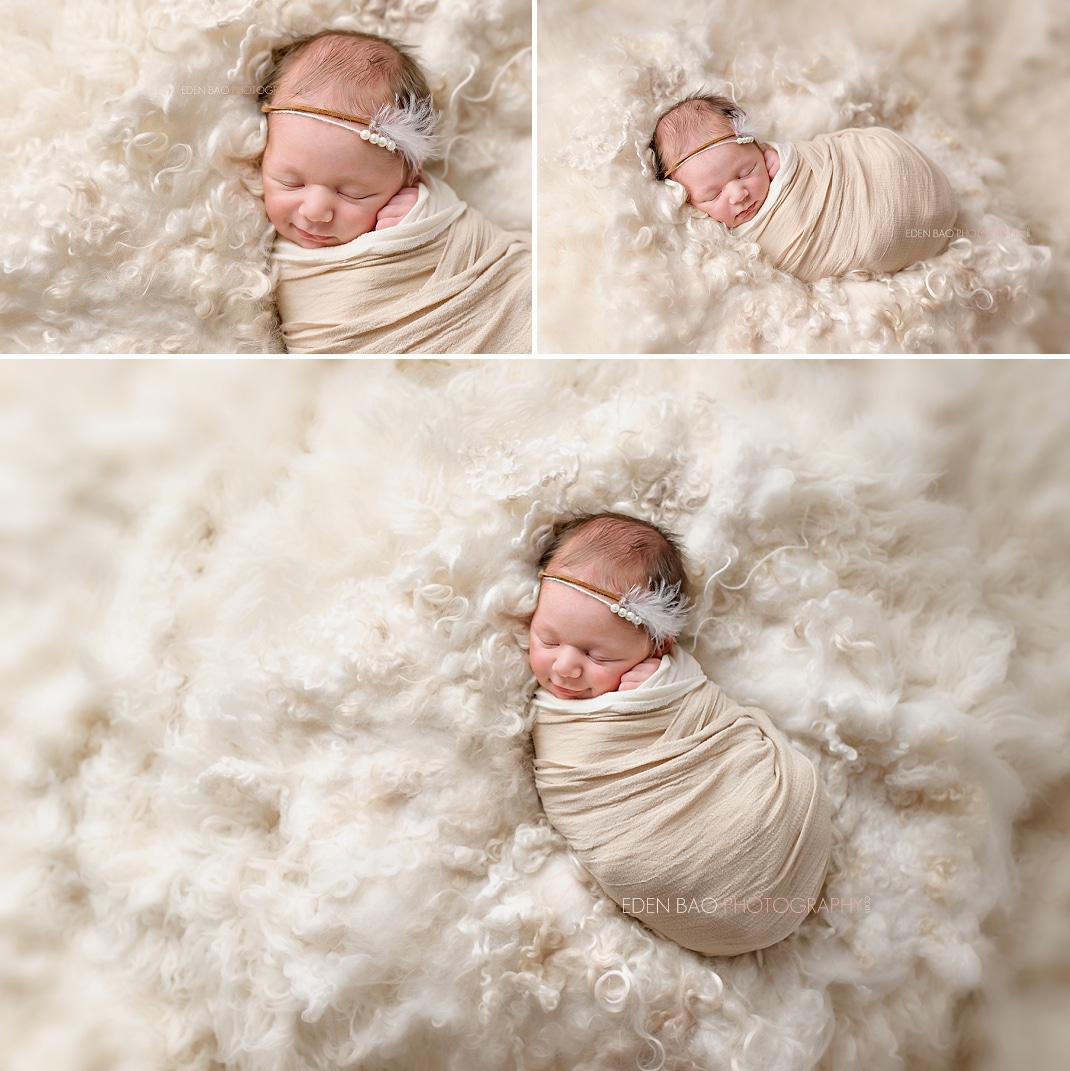
Part way through this series, I swaddled the baby and changed her headband. First image is shot with the 105mm macro lens, second with the 35mm, third to fifth with the 85mm and sixth with the 35mm.
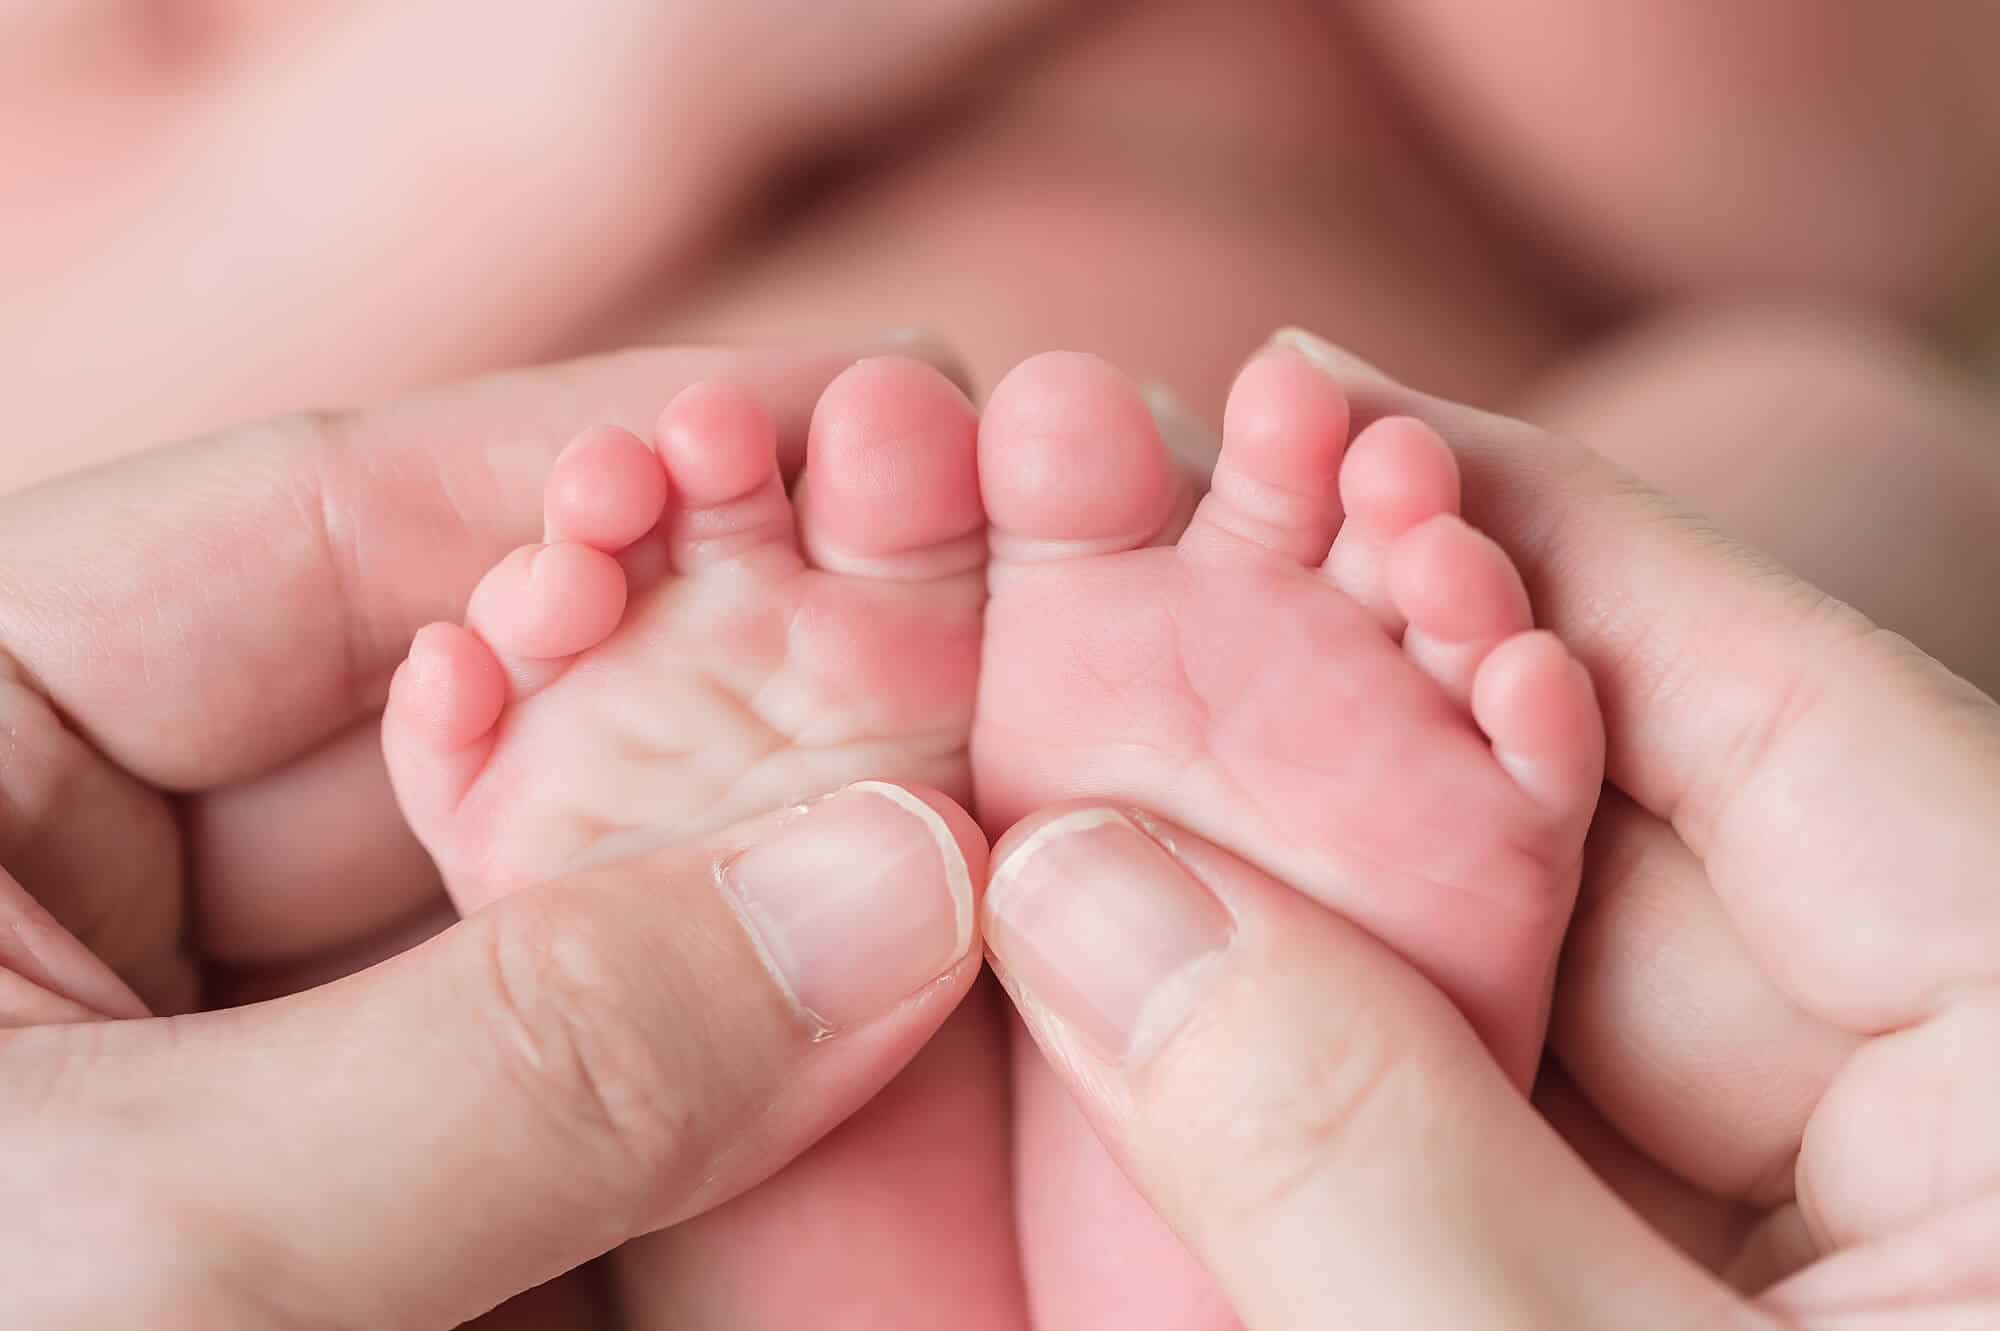
3) Shoot with a macro lens to capture details of baby.
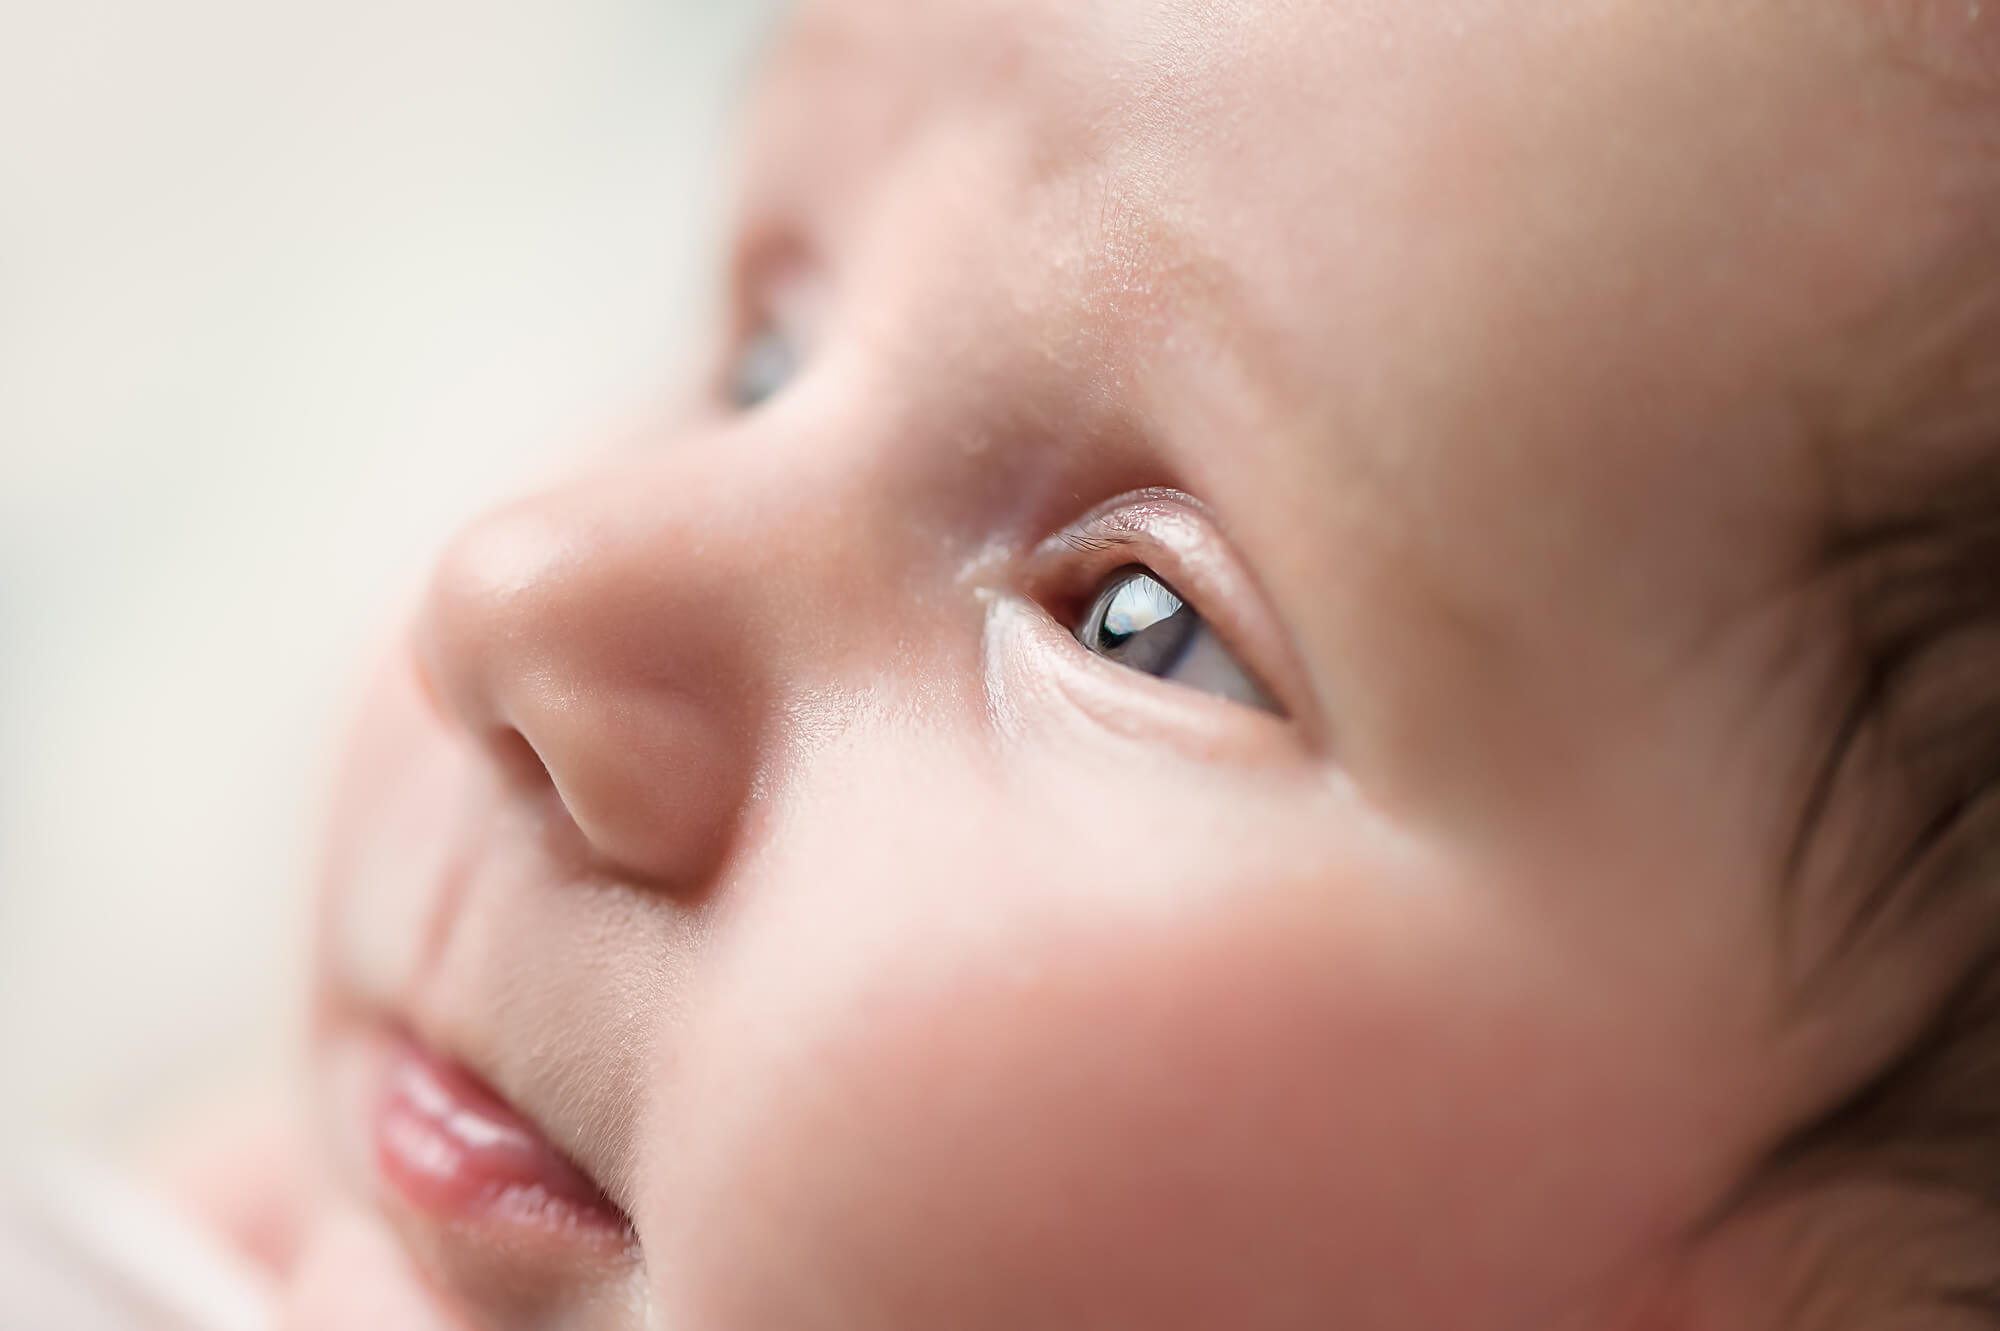
I love shooting macros because I don’t even have to move the baby or change the set-up. I switch to my 105mm lens and way I go.
4) On the beanbag set-up, pose the baby purposely so one pose transitions easily to the next.
I start with the womb pose, transition to the tushie-up pose, transition to the side-laying pose, transition finally to the head-on-hand pose. (If you want to see more on how I transition, here’s another blog post I wrote earlier about transitioning.) I always include a beanbag set-up because it yields so many different shots and helps fill your gallery. For illustrative purposes, I only displayed the front angle shots to show how I transition between poses. If I shoot three different angles of one pose, I easily have twelve different images. That’s almost half the gallery! Change up a hat, switch the beanbag backdrop, add a wrap and I add more to variety.
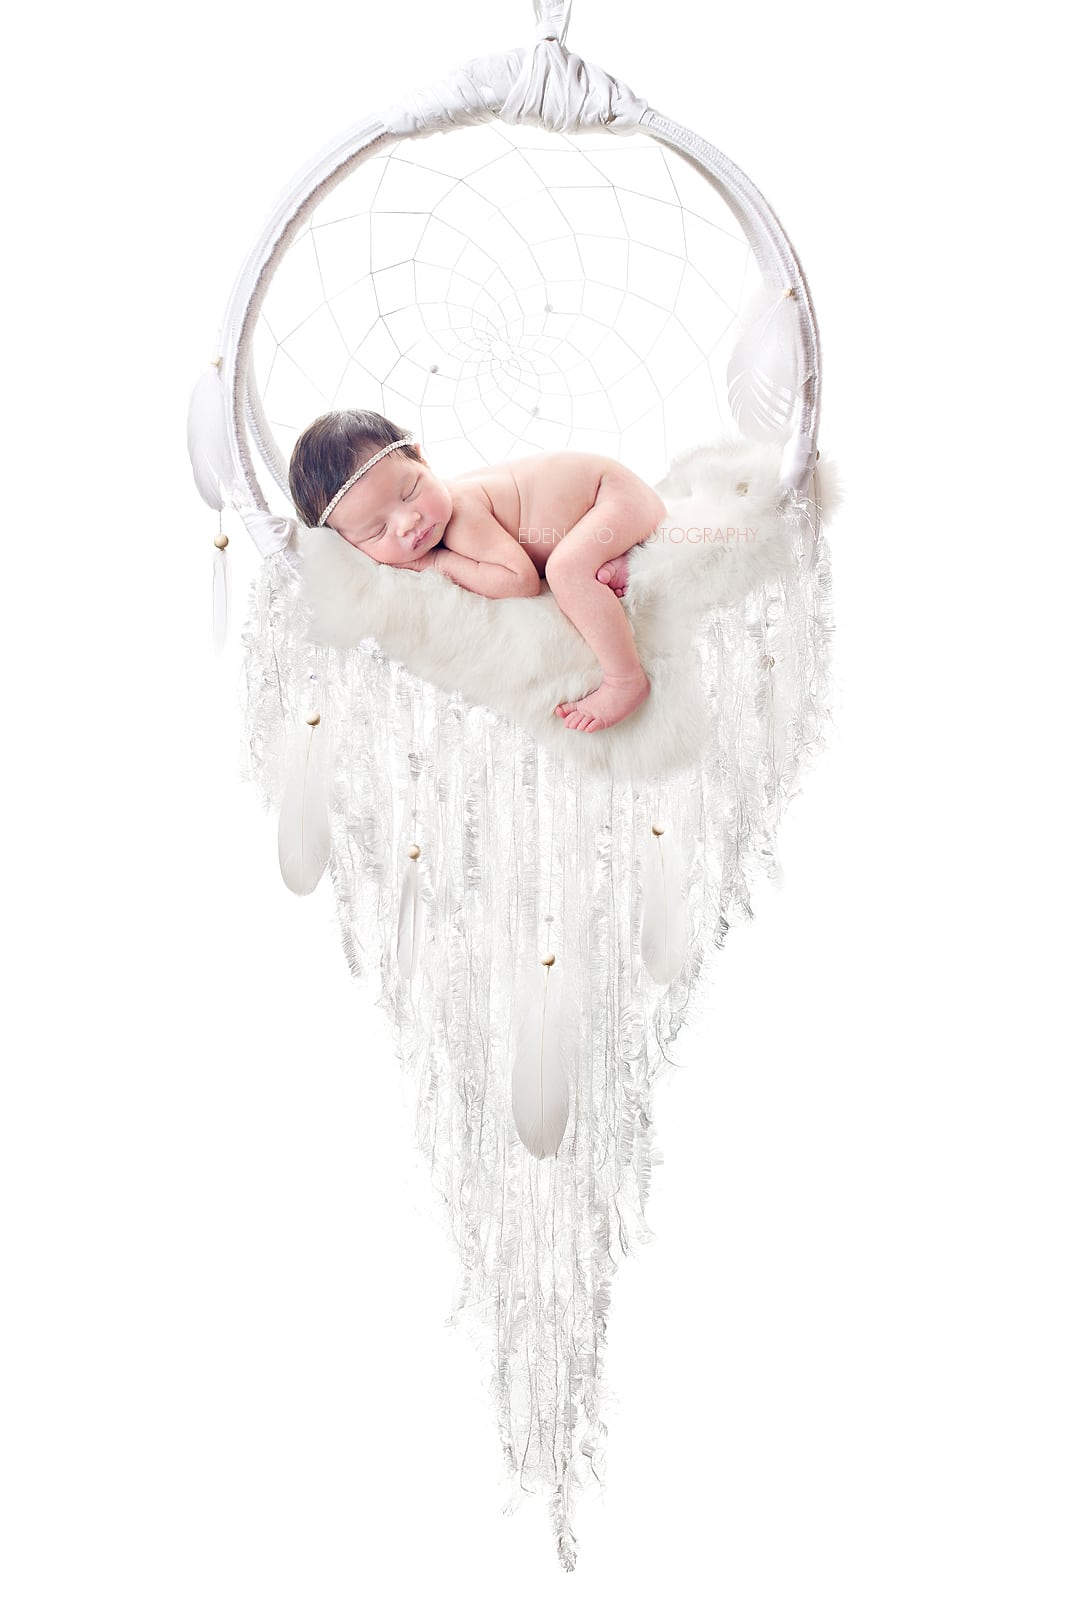
5) Limit specialty set-ups to one.
I define specialty set-up as a unique prop or pose that takes up a lot of time during production but yields only one or two shots.
For me, specialty props are dreamcatchers, branches, or hanging weight scale. Specialty poses include froggie or baby-sitting-up (in a sack or holding a ball) pose where Photoshop work is needed.
There you have it! My five tips on shooting efficiently via process.
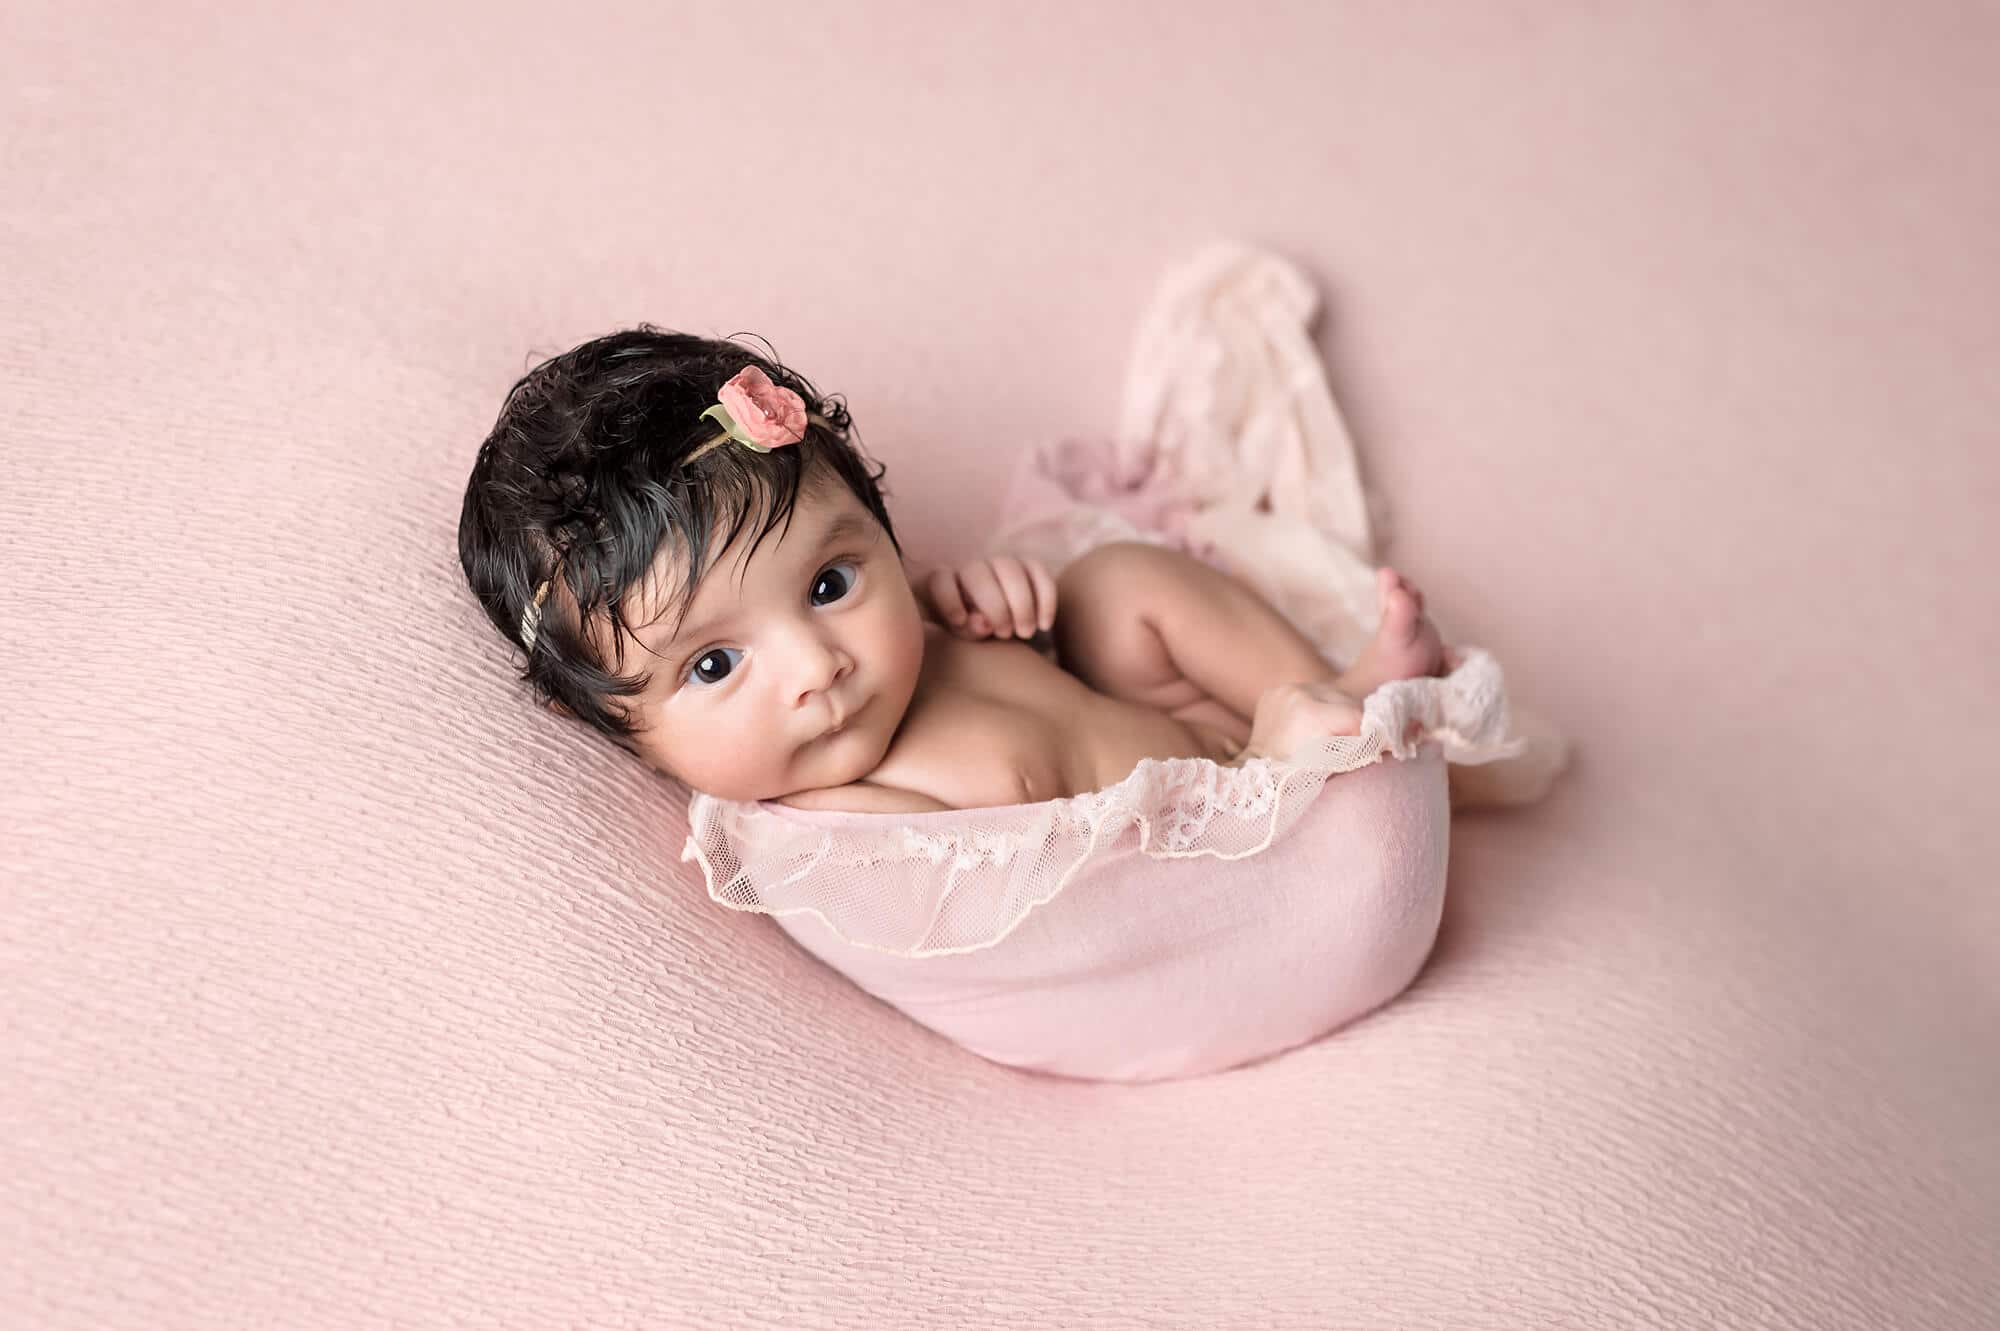
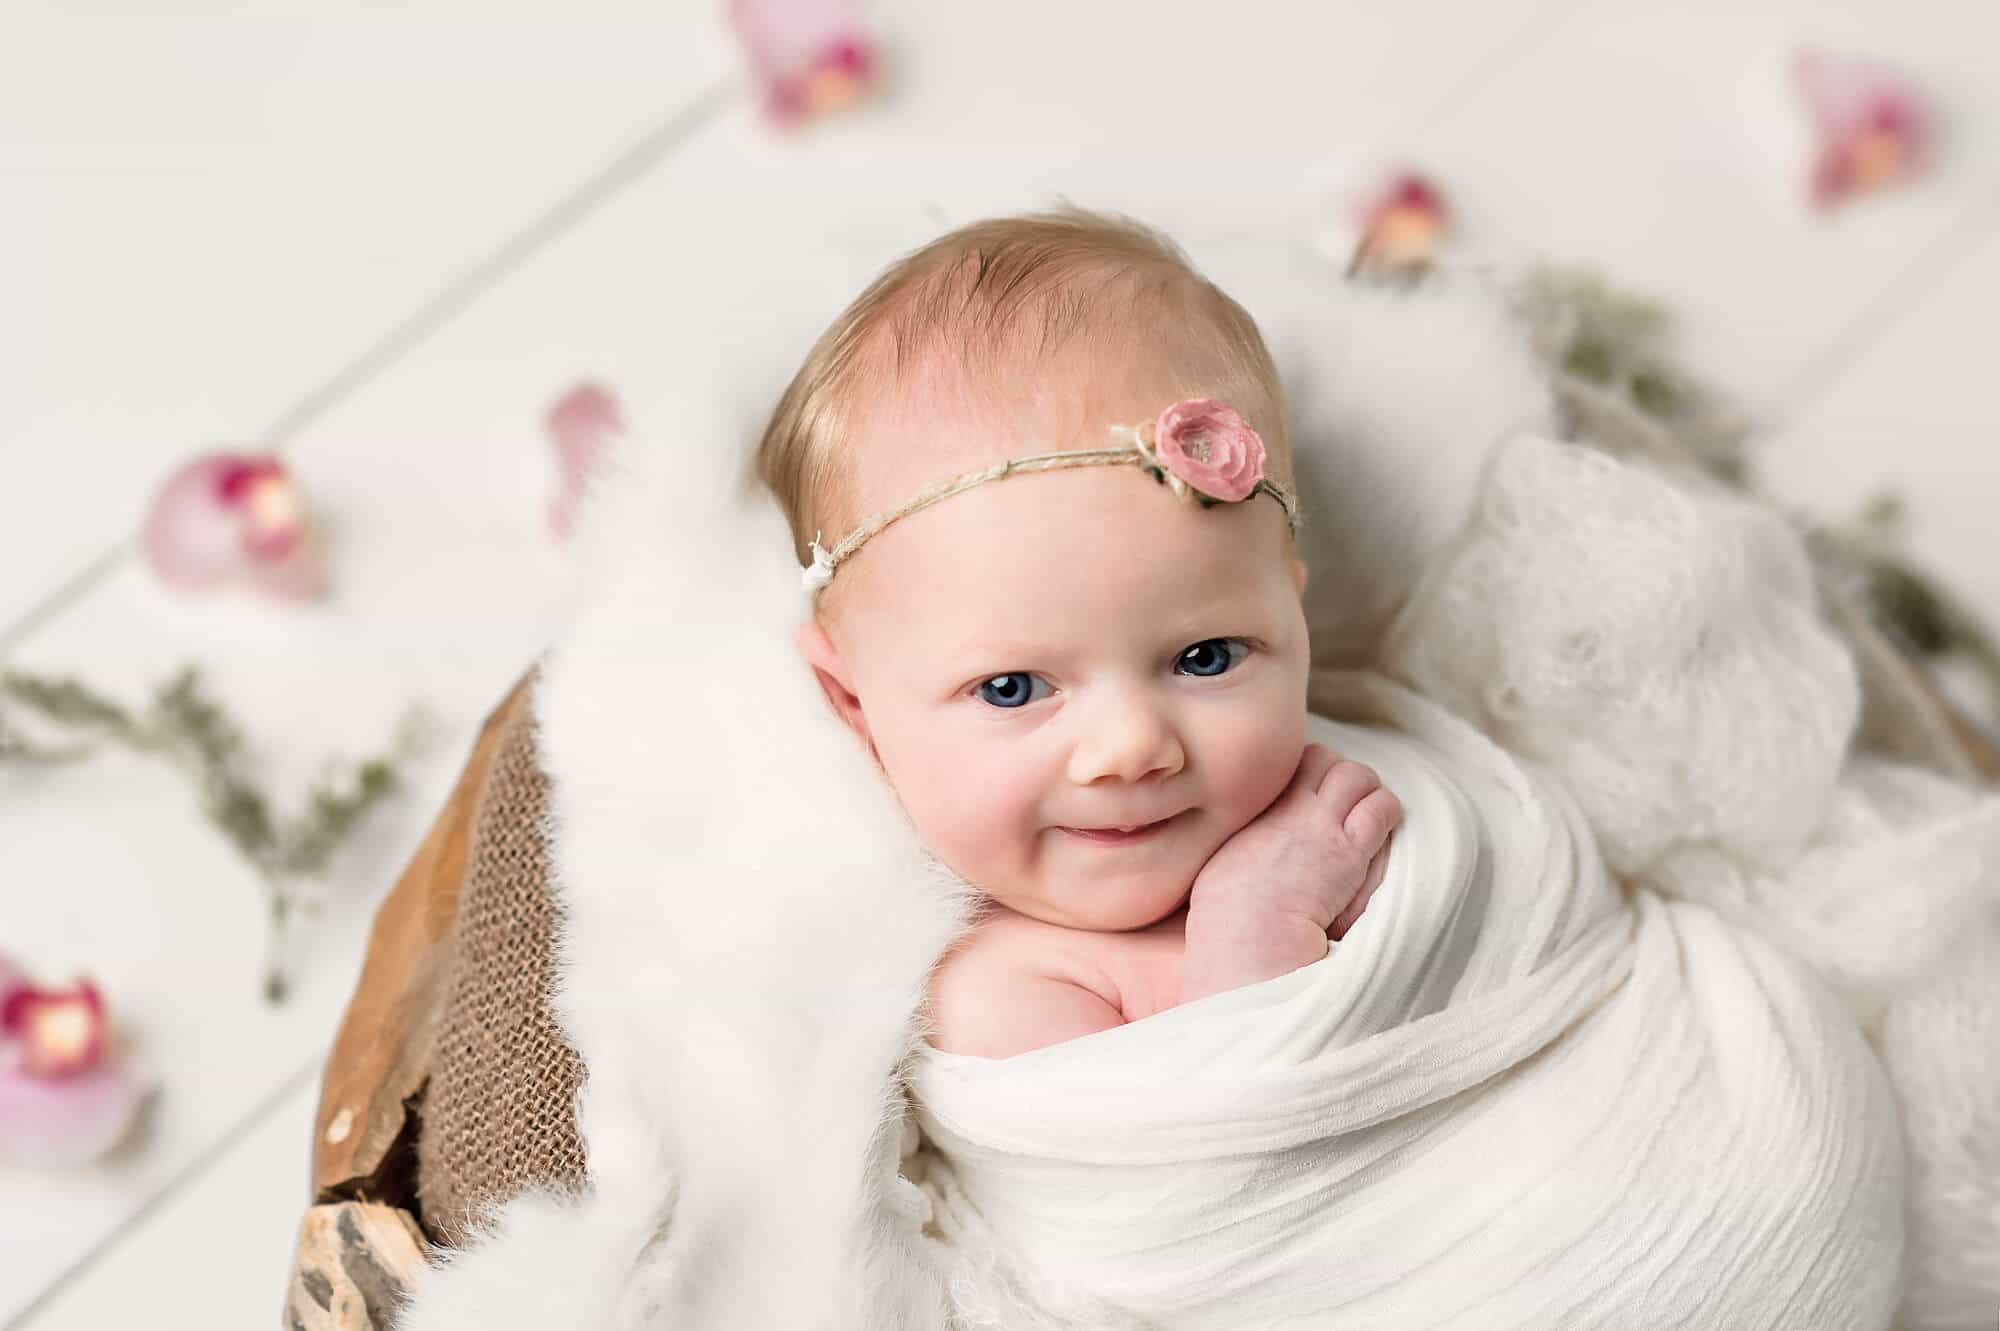
Of course it helps to speed the process if the baby is sleepy and cooperative. You can do much work in the beginning to prepare the parents and during the session soothe and feed the baby, but sometimes you still get an awake and alert baby. Don’t stop shooting! It’s during these times that I get the eyes-open smiling newborn shot.
Happy shooting!
Eden Bao Photography is pleased to offer newborn mentoring to photographers who wish to improve their craft and business. Come join me for a few of days and learn hands on how I shoot and process a newborn and maternity sessions from start to finish, using studio lighting and advanced Photoshop tools and techniques. Interested? Please contact me so we can chat!
